
Process: Palette Transfer to a Real Marker Look
The Process tab takes your colorized pages and produces the final coloring layer: it isolates just the color layer of each image (the line art is untouched) and reworks it into a clean, single-tone alcohol-marker look. The palette transfer happens automatically — you pick the palette, the app produces the final layer. It runs locally and costs nothing.
Controls
Section titled “Controls”| Control | What it does |
|---|---|
| Palette checkbox | On (default): the color layer is transferred to the selected palette. Off: colors pass through as-is. |
| Palette button | Opens Select Color Palette — see below. |
| Skip | Skips processing entirely: copies the colorized pages straight to Finalize. Use it when the raw AI colors are already what you want. |
| Run All | Processes every page and fills the grid. Re-running asks for overwrite confirmation. |
Click any single card to (re)process just that page; the palette setting persists per project, so late redos match the rest of the book.
Choosing a Palette
Section titled “Choosing a Palette”The Select Color Palette dialog offers real product palettes — each preview shows the actual marker set’s character:
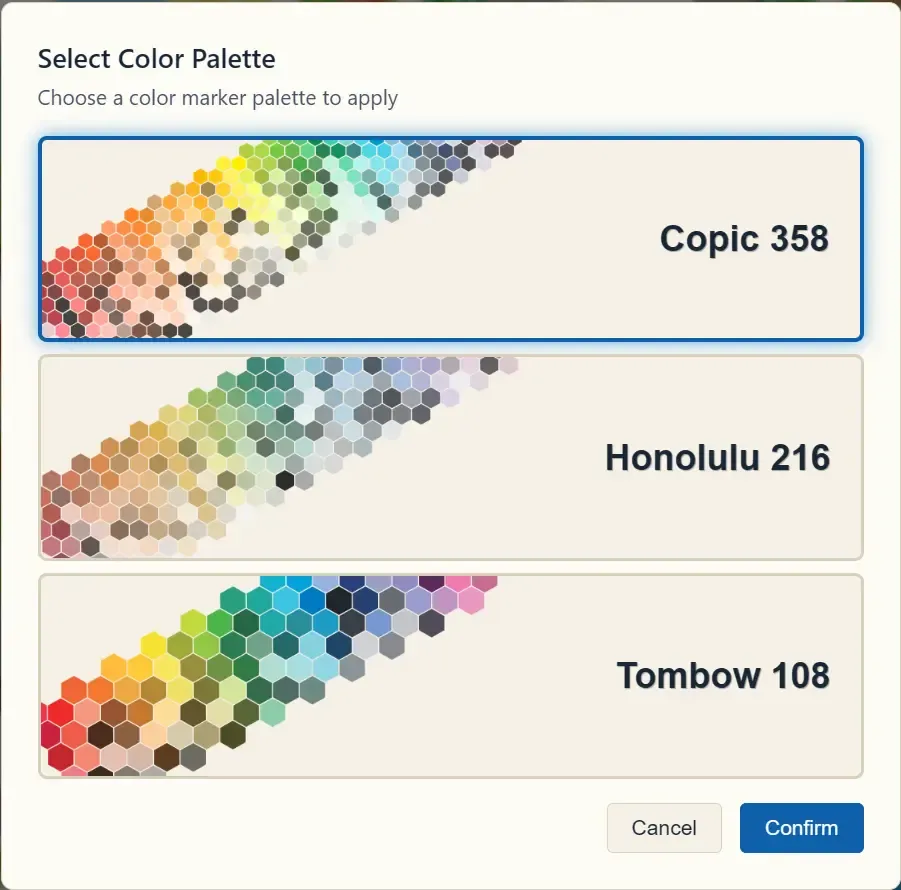
- Copic 358 — the full professional marker range: broad, balanced coverage.
- Honolulu 216 — softer, warmer spread.
- Tombow 108 — compact, vivid set.
Why Bother?
Section titled “Why Bother?”Raw AI-colored images look digital. A palette-transferred color layer looks like someone colored the page with an actual marker set — which is exactly the look your cover, previews, and coloring videos should have, and a look competitors’ raw AI output doesn’t match.